Lesson 2: Exploring the Tour Document
When you first open InDesign after a new in5 installation (or update), InDesign will automatically open the in5 tour document. The tour document contains sample interactive items that you can explore.
Expert Contributors to this lesson
Estimated time for lesson
Today’s lesson should take approximately 5 minutes.
Today's Course Outline
- The tour document at a glance
- Using the tour to learn how things are made
- Exporting the tour document to HTML
- Video demo of the tour document
The tour document at a glance
The tour document has all kinds of tips for building content with InDesign and export it with in5.
If you're eager to see in5 in action, you can export the tour document immediately by choosing in5 > Easy Export Wizard...
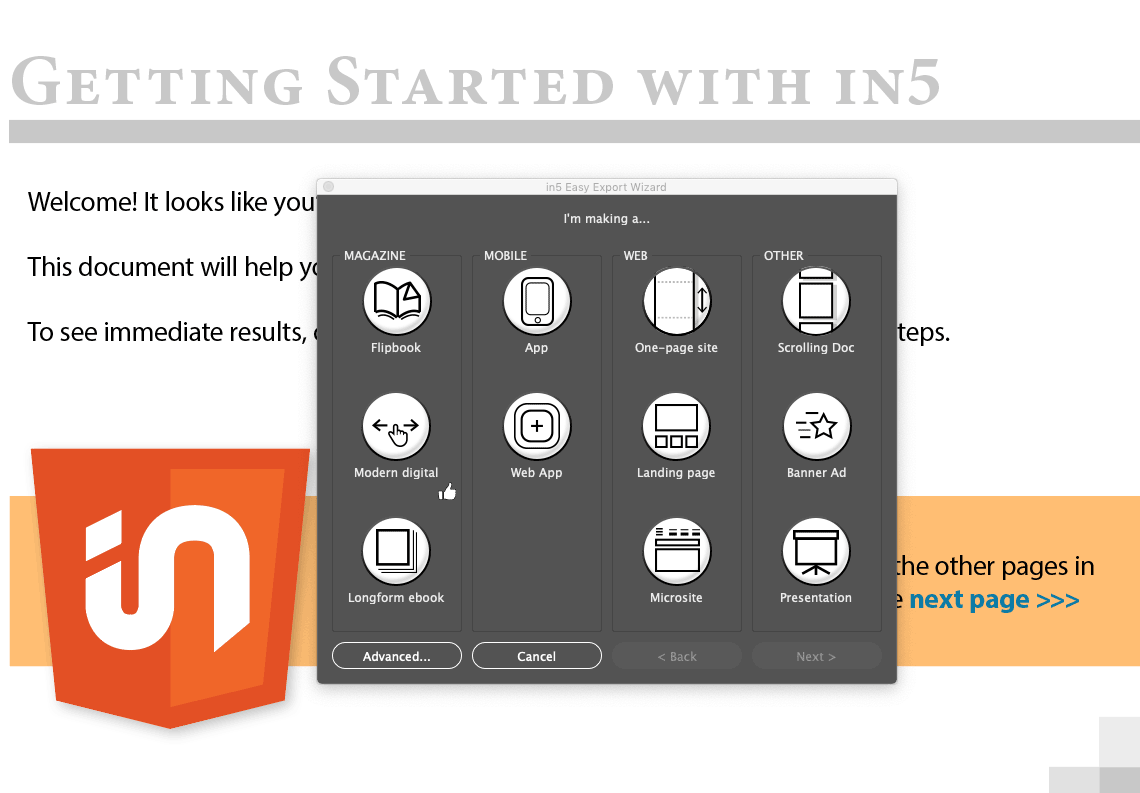
Choose Modern Digital in the Magazine section (or another option if you prefer), and follow the next 2 steps to export. Then click the Open in Default Browser button when the export is complete.
Using the tour to learn how things are made
Each page of the document walks you through the details of building part of the document.
The second page shows (and provides instructions on how to create) a Table of Contents.
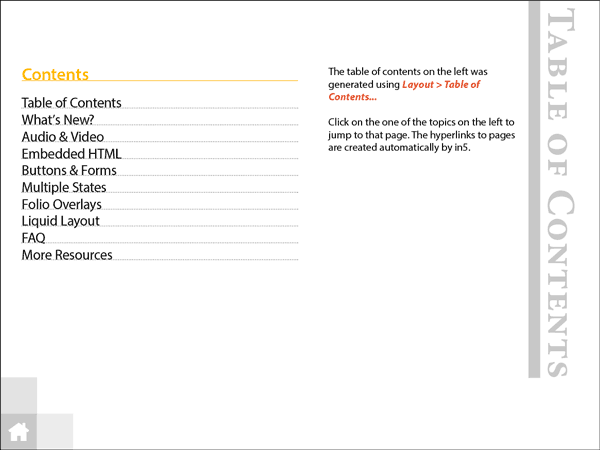
When you export the items in the Table of Contents will automagically link to the appropriate pages.
Rather than creating new and complicated interfaces, in5 relies on the tools that are already built into InDesign.
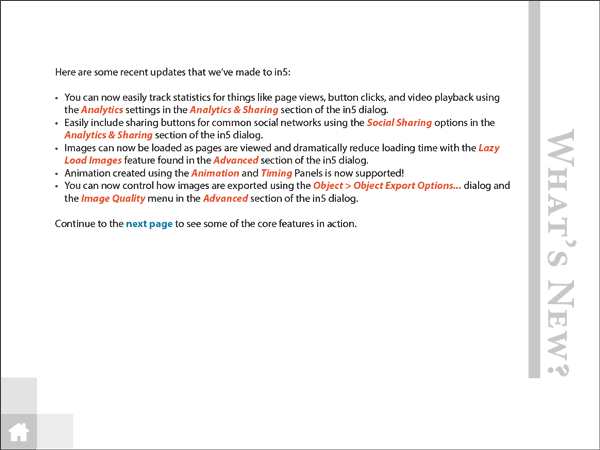
On the following page, you'll find a list of features that have been recently added to in5. This is a good place to check in after you update to see if there's anything new to try out.
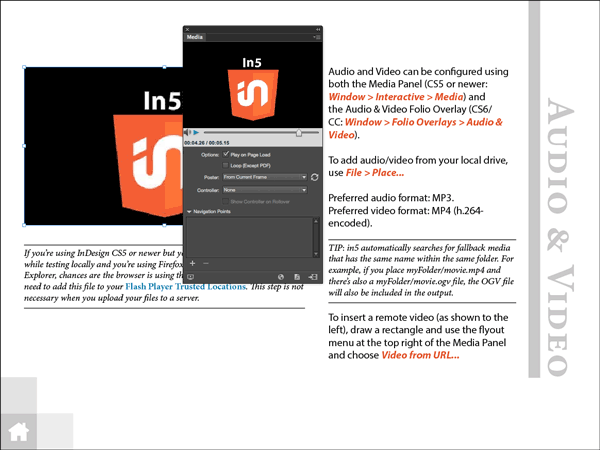
The subsequent pages walk you through several of the multimedia features as well as how to add and edit them using InDesign's built in tools.
This page shows you how to use the Media panel to add and control video.
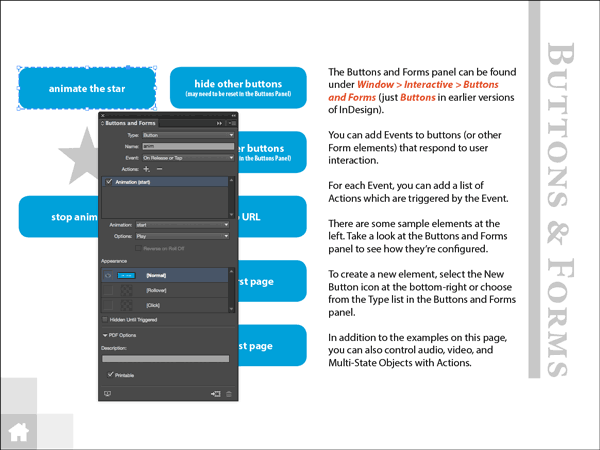
Another page shows you how to control actions with buttons, including animation.
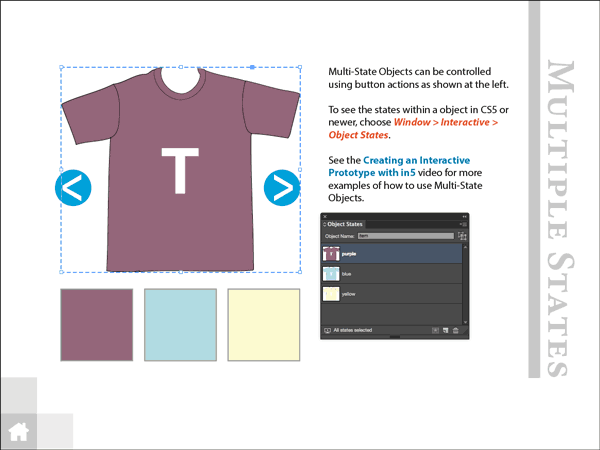
Dynamic content? No problem. Learn how to create Multi-State Objects with the Object States panel.
The other lessons in the course will walk you through all of these interactive features in depth, but the tour document is a quick way to get some hands-on experience with them as well.
Exporting the tour document to HTML
As you make changes to the document, you can try exporting with different settings in the in5 dialog.
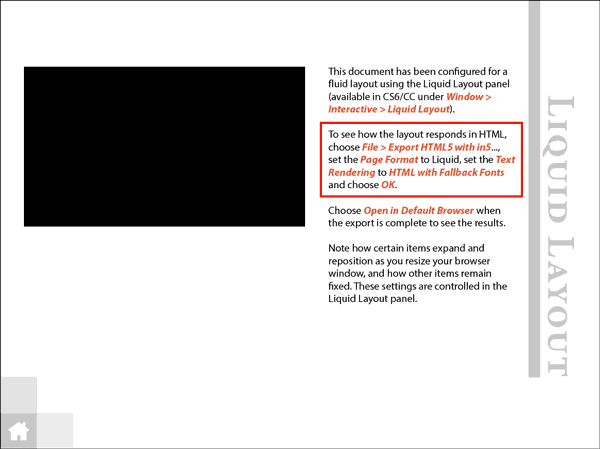
This page suggests changing your Text Rendering setting when you export a Liquid Layout.
Some of the layout elements (e.g., the home button) are located on a master page. Yes, the master page content is exported, too!
in5 by @ajarproductions supports master page content from InDesignSo you can layout re-used elements once on a master page (this also lowers the file size of the output).
As you test the export, you may want to explore the different Page Formats available. Different formats will be suitable for different projects.
Note how different the following formats look and function.
The Slider format are best suited for an app-like experience where a single page is visible at a time (built-in navigation buttons optional).
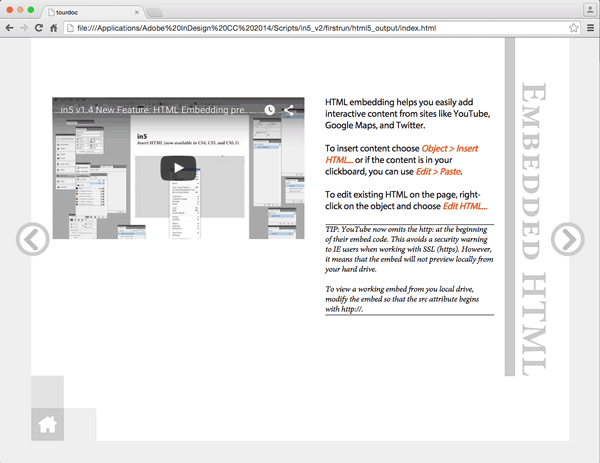
The Continuous Scroll formats are suitable for "digital documents." They look similar to PDFs, but support more interactivity and can be viewed directly in a browser.
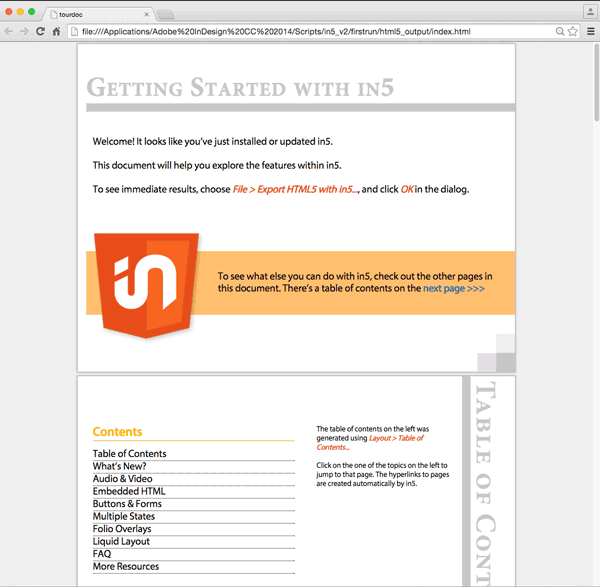
The Liquid format uses the Liquid Layout rules that you've set up in the document to fill the browser window at any size.
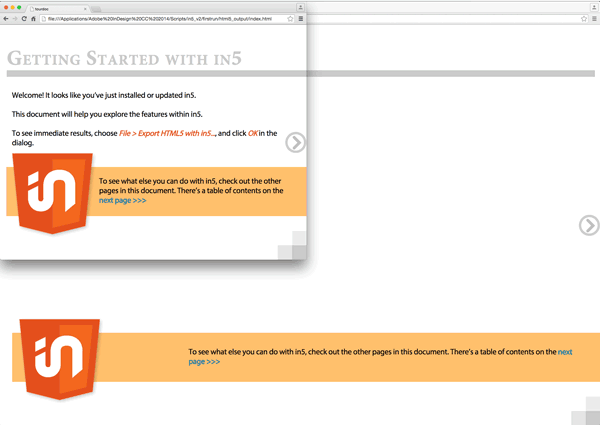
As you can see, in5 lets you take advantage of the flexibility of HTML!
Video Demo
Check out this video of tour document if you want to see it in motion before trying it out.


