Lesson 20: How to Add Social Sharing Buttons
Have you created something with InDesign and in5 that you'd like people to share? This lesson will show you how to add social sharing buttons with a few clicks.
Expert Contributors to this lesson
Estimated time for lesson
Today’s lesson should take approximately 5 minutes.
Today's Course Outline
- Configuring Social Sharing
Configuring Social Sharing
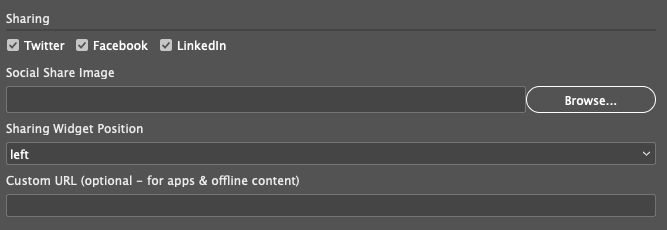
From your InDesign document, choose File > Export HTML5 with in5... to open the in5 dialog.
Navigate to the Analytics & Sharing section.
To add a share button, select the checkbox(es) next to the social networks for which you'd like to display buttons.

You can then choose a position for the social sharing widget (top, bottom, left, right).
The sharing buttons will appear in a fixed location regardless of the window size or scroll position.
How sharing buttons work in the Output
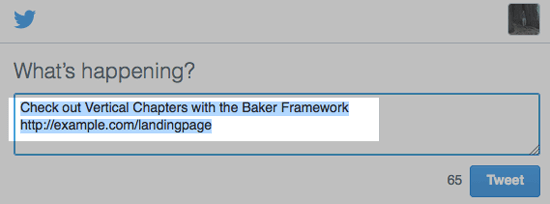
When one of the sharing buttons is clicked, the new window that appears will automatically be populated with the page's URL.

In the image above, the sharing buttons are in the top position and the window shows how the Twitter sharing would appear after clicking on the Tweet button.
What if I don't want the URL to be automatically populated?
The URL that's shared is dynamically generated and only works properly when the files are online (see the Publishing to the Web lesson for more on posting online).
However, you may want your files offline, or you may be packaging your files as an app (in which case they won't have a URL).
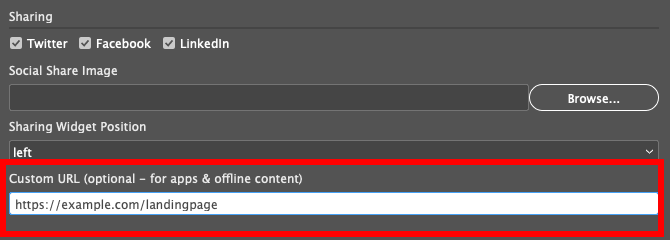
To point your social sharing to a specific link (e.g., a download page for your app), paste your URL into the Custom URL field.

Your custom URL will appear automatically when a viewer clicks one of your share buttons.

How to Add a Custom Sharing Image
You can add a custom image to your social sharing. Check out the video below to see how.


