Lesson 22: How to Create A Typewriter Effect
One of the classic animations for type is making it look like the text is being typed by a typewriter. This effect is easy to achieve in InDesign, if you know this little tweak in the settings. Expert Diane Burns will show you how in this lesson.
Expert Contributors to this lesson
Estimated time for lesson
Today’s lesson should take approximately 15 minutes.
Today's Course Outline
- Breaking Text into Characters
- Animating the Characters
- Perfecting the Animation
Getting Started
First, type and format the text in InDesign that you want to have the typewriter effect.
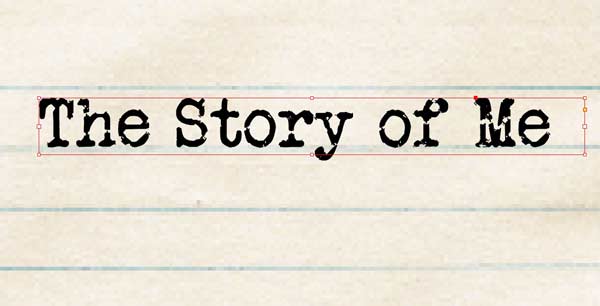
Breaking Text into Characters
Next, you’ll need to separate each letter so that each can come in one-by-one. You can use the Ajar Productions Split Text extension.
Once the extension is installed, select your text frame, then run the script from the Scripts panel (Window > Utilities > Scripts).
Choose the Split By option for every character.
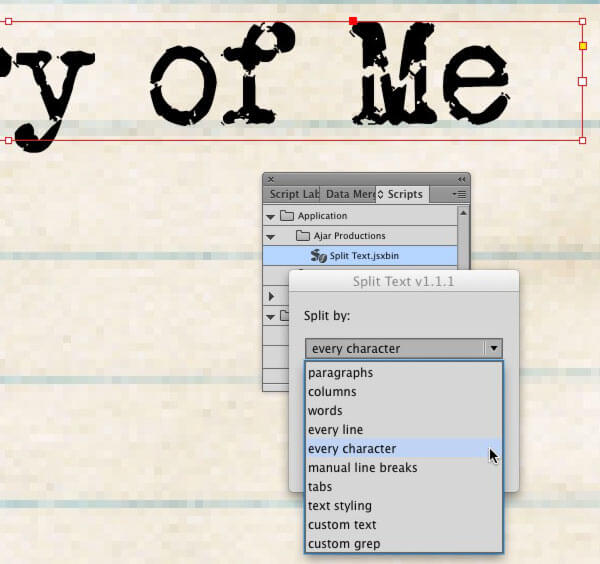
Once you run the script, each letter will sit in its own text frame.
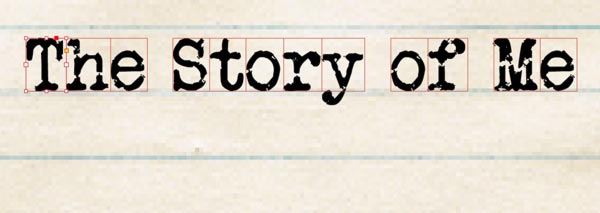
Animating the Characters
Select all the text frames.
Pro tip: The order in which objects are selected determines the order in which they’ll be animated. In this case, the Split Text script leaves the order of the text frames in the correct order they appear in when typed, so you can simply use Select All or marqee the text frames.
With each text frame selected, from the Animation panel (Window > Interactive > Animation) choose the Preset Appear.
In the Timing panel, you can see that all the letters will animate in the correct order.
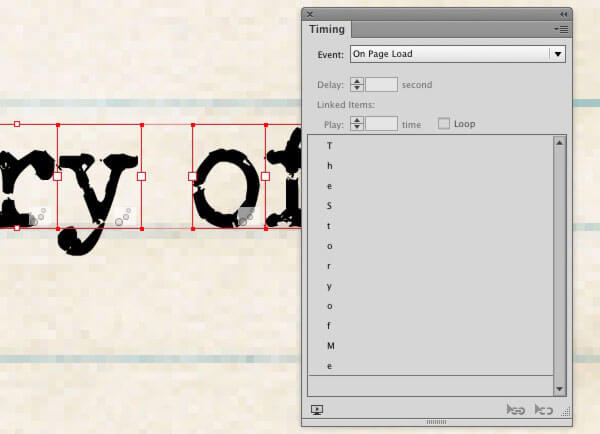
At this point, you can preview the animation in the EPUB Interactivity panel (or the SWF Panel in older versions of InDesign) by clicking the Preview button in the lower left-hand corner of the Animation or Timing panel.
But the first thing you’ll notice is the animation is much too slow.
We’ll make some custom adjustments to the Appear preset in the Animation panel that will speed things up.
Perfecting the Animation
Select all the text frames and make sure the Animation panel is open.
In the Animation panel, change the speed to .125 seconds (the lowest setting possible).
If you preview again, you’ll see that none of the characters show up.
This is because there is an opacity change in the Appear preset that interferes with the text showing up as expected.
To remove the Opacity change, use the Opacity pop-up menu and set it to None.
If you preview the animation now, you’ll see that all the letters appear at once.
This is because the speed is so fast they just all appear at the same time, which is not what we want.
We want each text frame to wait it’s turn. So finally, check on the Visibility Hide Until Animated. This will cause the text frames to appear one after the other.
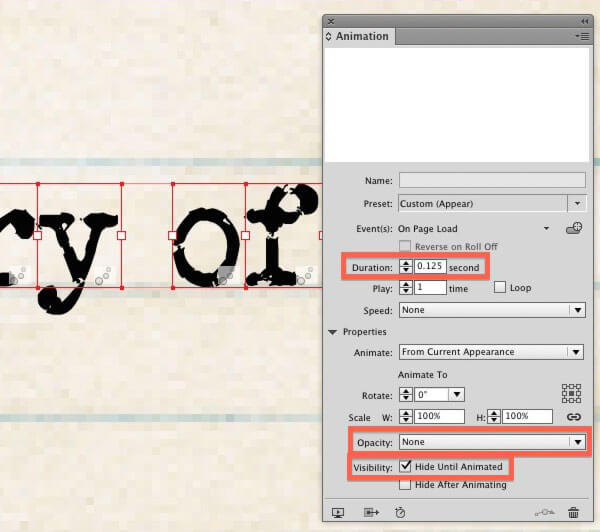
Now we’re all set. Each letter comes in quickly, one after the other, just like they would if they were being typed by a fairly fast typist (not me ![]() ).
).
Here's a live example exported with in5.
An animated typewriter effect from InDesign in minutes!Take Aways
- The Split Text extension can be used to break up characters.
- You can apply animation with multiple objects selected.
- The Timing Panel lets you change the order of animated objects.
- Use the Hide Until Animated setting to force objects to wait their turn until displaying.
For more on creating animation FX with InDesign, check out Diane's InDesign: Creating Animations course.


